
The Queen is the most powerful piece on the chess board. So it comes as no surprise that it has an opening named after it.
The Queen’s Gambit opening is a very popular opening choice amongst players of different levels.
Outside chess, it also has influence in the entertainment industry. The very popular Netflix series, The Queen’s Gambit was named after this opening.
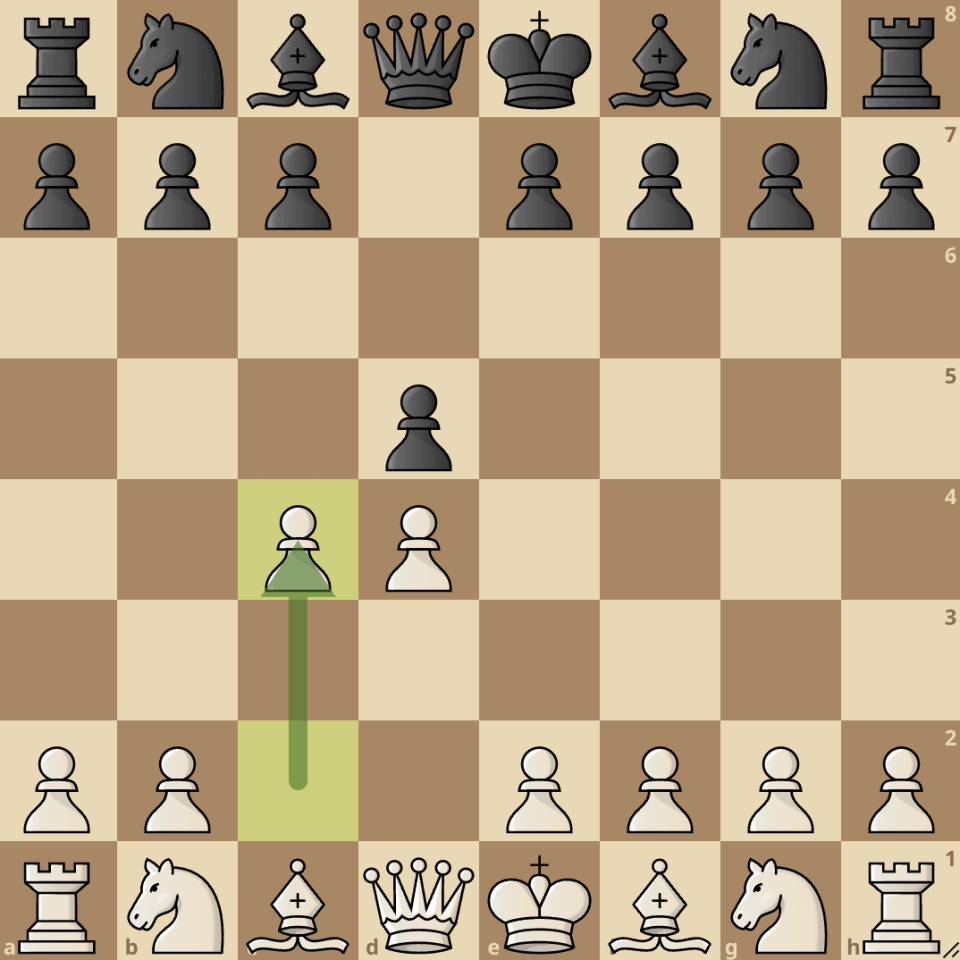
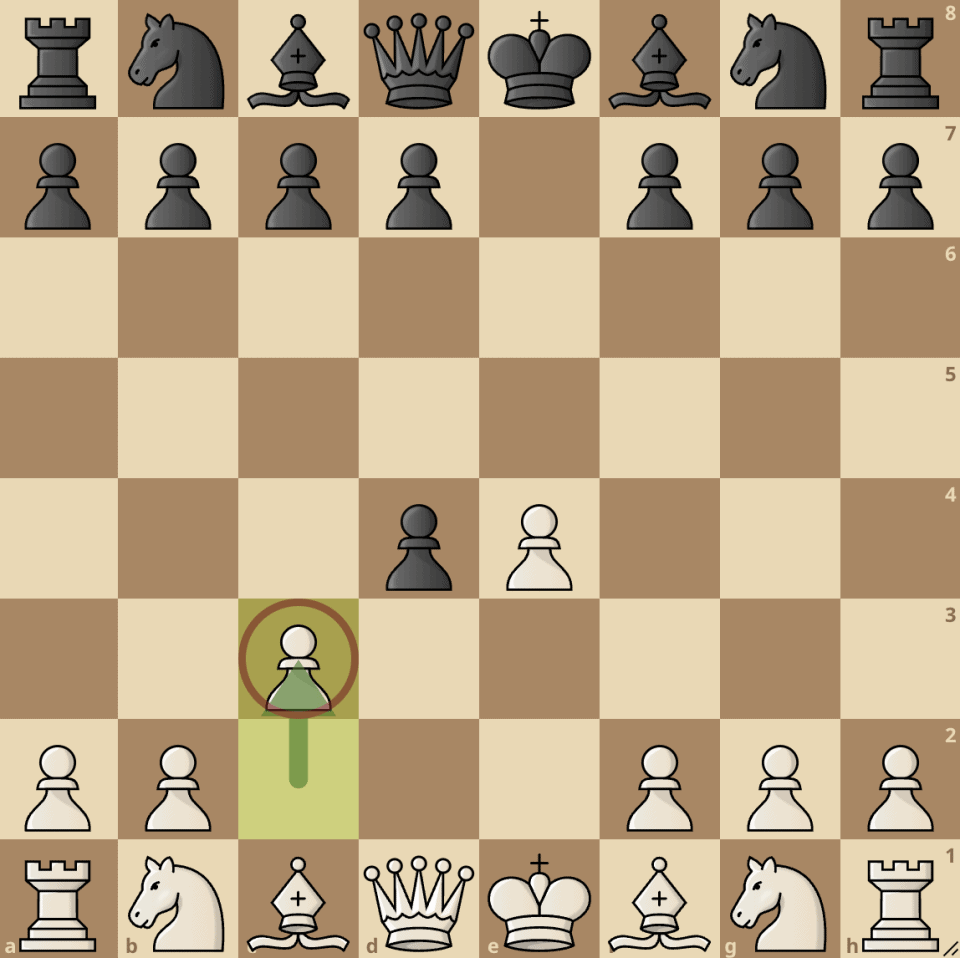
It starts with 1. d4 d5 2. c4.

By playing d4, White goes for control of the central e5 square and also opens up lines for their dark-squared bishop to enter the game.
Black then counters this with 1…d5. d5 does almost the exact thing d4 does, it claims the central e4 square for Black and opens up lines for the light-squared bishop.
White then looks to gain an edge in the center and they play 2. c4. By playing c4, White offers Black the chance to capture the c4 pawn, seemingly for free (this is where the gambit nature of this opening arises).
White’s plan is for Black to accept the pawn sacrifice and in doing so, abandon the control of the e4 square.
After 2. c4, the game can go into different variations. We will now take a look at the common lines that arise in the Queen’s Gambit.
Queen’s Gambit Accepted
1. d4 d5 2. c4 dxc4

The Queen’s Gambit Accepted line starts after Black accepts the c4 pawn offer. By accepting the pawn, Black concedes their control over the center to White.
However, one perk of this opening is that White can easily win back the pawn. This is because defending the pawn will weaken Black’s structure and may even land them in trouble.
Let’s look at an example of the dangers Black can fall into after they capture the c4 pawn and try to defend their pawn.
After 2…dxc4, White plays 3. e3. This move opens up the light-squared bishop’s attack to the undefended c4 pawn.
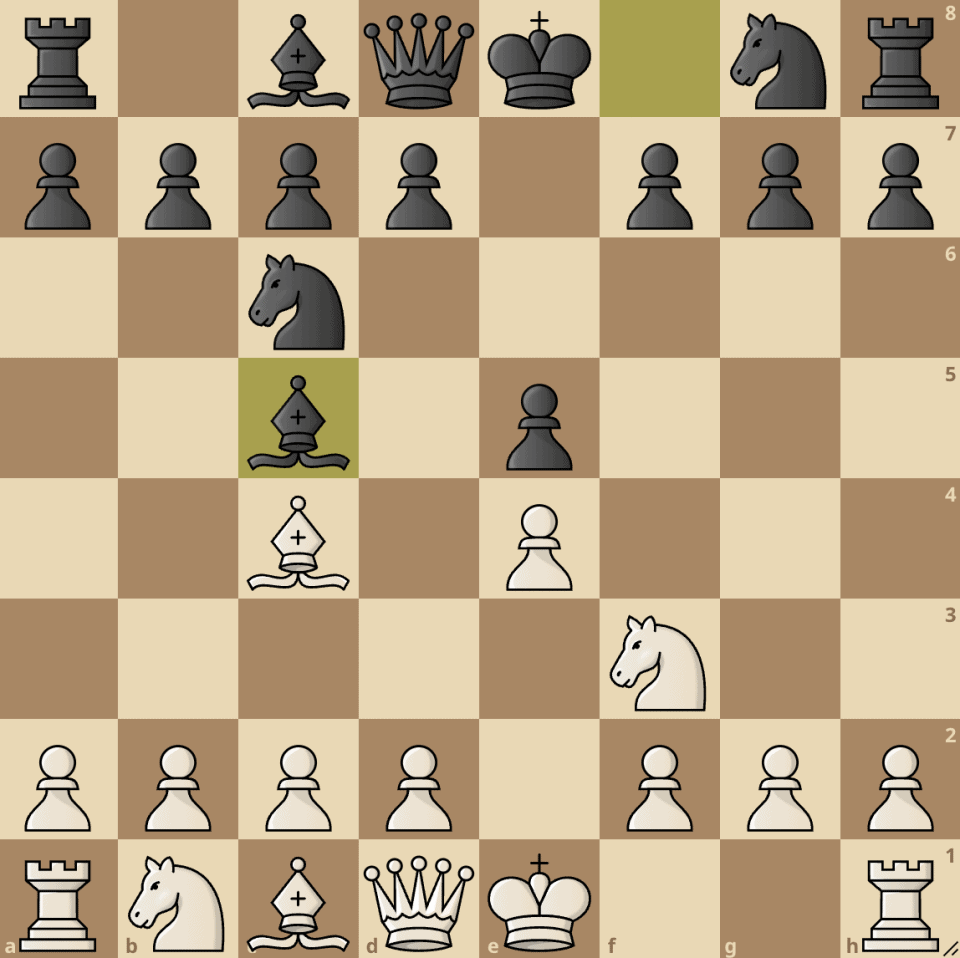
Black then decides to protect the pawn and they play 3…b5. From this position, the chess engine evaluation gives White a significant advantage in the position and we will see why.
White continues with 4. a4, challenging the b5 pawn. Black also wants to defend that pawn and keep everything so they play 4. c6. They play c6 because a6 is not viable as after White captures on b5, they cannot recapture since their rook on a8 would hang.
However, c6 is not any better. White will continue with 5. axb5 and after Black recaptures with 5…cxb5, they think everything is going fine and they are up in material.
However, their hopes are shattered because after 6. Qf3, Black is in great trouble.

The queen from f3 attacks the black rook on a8 and the rook cannot move since it is hemmed in by its pieces. The only way to save the rook is to play 6…Nc6.
The knight in c6 is unguarded so White captures it with a check and after Black blocks the check with Bd7, White simply moves the queen back and just like that, they are up a piece and in a winning position.
The Queen’s Gambit Accepted line can be a very dangerous route for players who aren’t familiar with the best replies.
After Black accepts the c4 pawn and White plays 3. e3, the best move for Black is to give up trying to protect the pawn and focus on developing their pieces with moves like Nf6, e5, e6, and c5.
White will then recapture the pawn and the game will continue with both sides looking to place their pieces on the best squares possible going into the middlegame.
Queen’s Gambit Declined
1. d4 d5 2. c4 e6

The Queen’s Gambit Declined is a more popular response by Black when faced with the c4 pawn gambit.
By playing 2…e6, Black states that they are not interested in giving up control of the center in exchange for a pawn, but rather, they will solidify their d5 pawn and open up lines for their dark-squared bishop to enter the game.
However, by playing e6, Black locks in their light-squared bishop, and finding a way to develop that bishop will be Black’s major challenge in this variation.
From here, White can choose between moves like Nc3, Nf3, and g3, all of which are moves that look to develop as quickly as possible and get all of White’s fighting pieces into the thick of the action.
White can also choose to exchange pawns in the center with cxd5. However, this line usually ends up in a draw as both players have seemingly equal positions. By moving the e6 pawn, Black solved the issue they had with the development of the light-squared bishop.
They can now freely develop the bishop and other pieces. While there have been many games that reached this position and ended up as a draw, the outcome of the game still depends on the tactical and strategic abilities of both players, and especially at beginner and intermediate levels, anything can happen.
Slav Defense
1. d4 d5 2. c4 c6

In top-level chess, the Slav Defense is the most popular reply for Black against the Queen’s Gambit. With over 90,000 games played, it is a favorite for many masters.
The Slav Defense starts with the move 2…c6. By playing c6, Black chooses to decline the gambit offer and instead solidify their d5 pawn with c6. White’s main continuations after c6 are Nf3, Nc3 and cxd5.
3. Nf3 is the main line. By playing Nf3, White develops a piece while maintaining a flexible position for their pieces. 3. Nc3 is another way in which White develops their pieces while still maintaining a flexible position.
The third option is 3. cxd5, this is the exchange variation. In this variation, White releases the tension in the center very early.
Playing cxd5 allows Black to gain equality in the position as there is no significant advantage for either side in this line. Most master games that reached this position usually ended in a draw.
Learn more about the Slav Defense here.
Semi-Slav Defense
1. d4 d5 2. c4 c6 3. Nc3 Nf6 4. Nf3 e6

The Semi-slav defense stems from the lines of the Slav Defense. After Black enters the Slav with 2…c6, White continues with 3. Nc3 and Black also develops their knight with 3…Nf6.
White then brings another knight into the equation with 4. Nf3, from this position, Black enters the semi-slav with the move 4. e6.
4. e6 adds more solidity to the d5 pawn and opens up the dark-squared bishop. It also ensures that Black maintains their grip over the e4 square.
One drawback, however, is that the light-squared bishop is locked in. Since Black has played e6, they have to find another means of freeing the light-squared bishop.
How the game continues depends solely on the players, they might decide to either go for a calm positional game or a sharp attacking one.
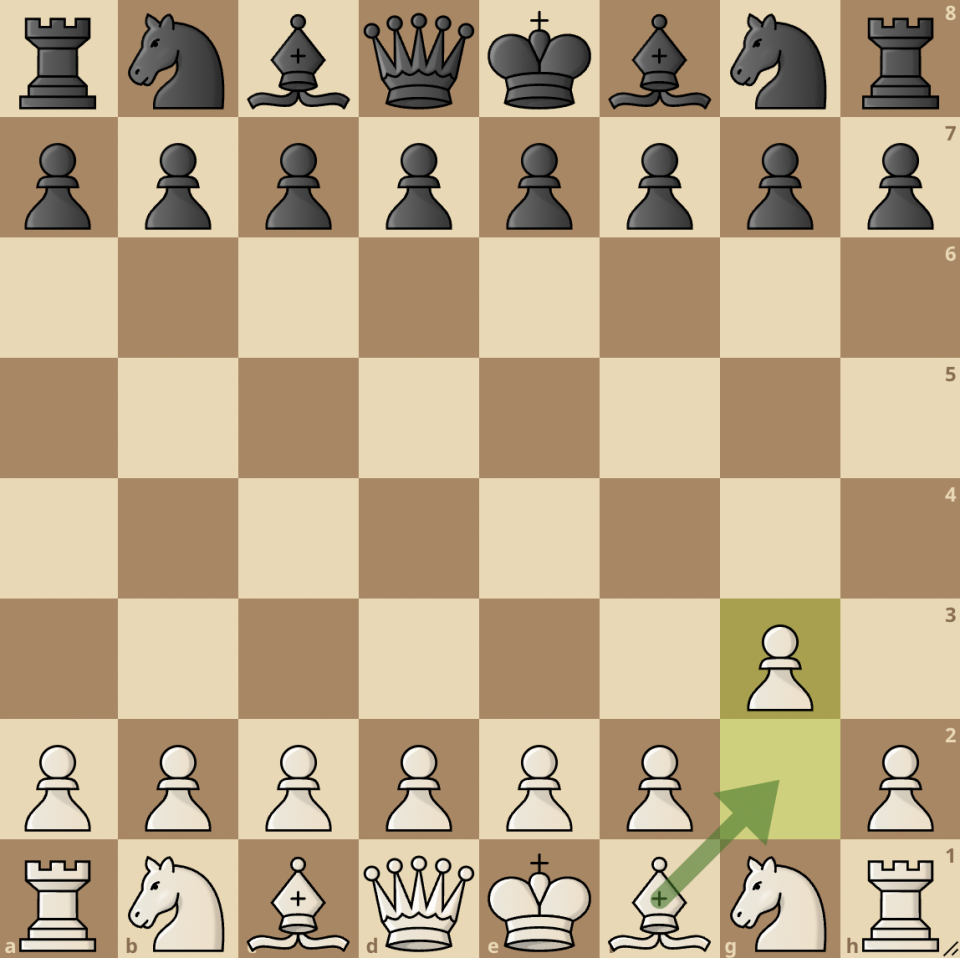
Albin Counter-Gambit
1. d4 d5 c4 e5

If Black is an adventurous player, they might refute the Queen’s Gambit and instead counter with their own gambit. This variation is known as the Albin Counter-Gambit.
The Albin Counter-Gambit comes into play after the c4 move by White. Black ignores the c4 pawn and counters it by offering their e5 pawn.
White continues by playing 3. dxe5 and Black pushes 3…d4. This d4 pawn becomes an uncomfortable piece in White’s camp as it controls some key squares like the c3 square.
The best move for White is to play 4. Nf3 and get on with the game.
However, if White gets jittery and tries to remove the d4 pawn by force with 4. e3, then they fall into a trap known as the Lasker Trap.
The Lasker Trap starts after 4. e3, Black plays 4…Bb4+. White cannot block the check with Nc3 as the d4 pawn would capture it, so White plays 5. Bd2.
Even though their bishop is now challenged, Black ignores the threat and instead plays 5…dxe3. If White decides to capture the bishop and they play 6. Bxb4, then they are in a lot of trouble.
Black will play 6…exf2+, the white king cannot capture the f2 pawn as that would leave the queen undefended, so White plays 7. Ke2.
Black now captures the g1 knight and underpromotes into a knight of their own with 7…fxg1=N+. White cannot capture the knight with their rook as Bg4 would check the king and win the White queen, so White plays 8. Ke1.
Black then jumps in with 8…Qh4+ and here White is overwhelmed, they have too many threats to parry and will soon lose the game.

The Albin Counter-Gambit is a way for Black to try and catch White off-guard when playing the Queen’s Gambit.
Successful Deployments
Let’s take a look at some games where the beauty of the Queen’s Gambit was displayed on the chess board.
Touch the moves or move the board around for a better interactive experience.
Akiba Rubinstein v Ernst Grünfeld, Semmering 1926
In 1926, a face-off between two revolutionaries of the beautiful game took place. Akiba Rubinstein had the white pieces against Ernst Grünfeld and the Queen’s Gambit Accepted line was employed. The game was won by Akiba in the most satisfying way possible.
Kasparov v Karpov, World Championship Rematch 1986
Kasparov and Karpov were eternal rivals. The pair clashed over the board multiple times with results differing from game to game. However, in this game, Kasparov opted for the Queen’s Gambit and took the win against his respected rival.
Alexander Grischuk v Magnus Carlsen, World Rapid Championship 2016
Magnus Carlsen would display the brilliance of the Slav Defense against the brilliant grandmaster Alexander Grischuk in the 2016 World Rapid Championship. Carlsen would go on to win the game using the Slav Defense response to the Queen’s Gambit.


join the conversation